Welcome to my OpenPT project. I have been working on a dead rail receiver for the Protothrottle for a couple of years now and have gone through several revisions of code and PCB designs. I now offer it as an assembled and tested unit.
You can find it at http://blueridgeengineering.net/
While I have worked on the Receiver for quite a while, I have never tried to build a transmitter, I always used my trusty Protothrottle.
But because I use my PT on my outdoor dead rail layout and have left it out in the cold and rain by mistake a few times, I decided I needed a low cost backup.
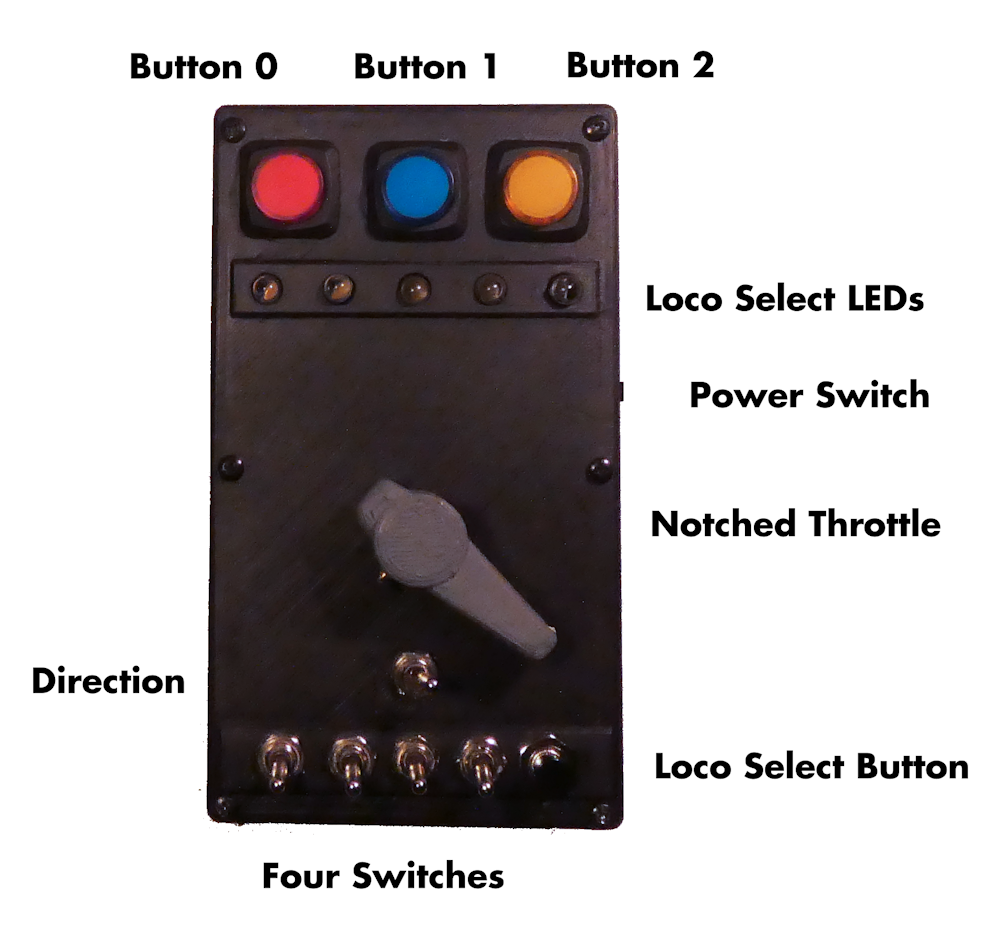
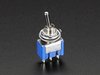
So this is my design. Compared to the real Protothrottle, it’s pretty minimalistic but it does the job. It supports five locomotives and has three large buttons that can be set to any function code, plus four toggle switches, also programmable to any function code and a knob with ‘notches’ for the throttle. It is based on the very popular Arduino ProMini and Xbee3, both are available from quite a few places, I got mine from Sparkfun.
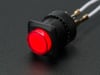
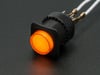
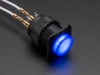
In my setup I use the red button for the brake, the center blue button for couplers and the yellow button for the horn. The switches, from left to right are the bell, main lights, ditch lights and engine start. The push button is used to select one of the five locomotives programmed into the device.
Here it is in action, controlling my PT receiver which in turn is driving an ESU lok 5xl dcc decoder and a Syren50 50 Amp Motor Controller.
The git repo below includes the code and the stl files to print the case, faceplate and knob.
https://github.com/martan3d/OpenPTC
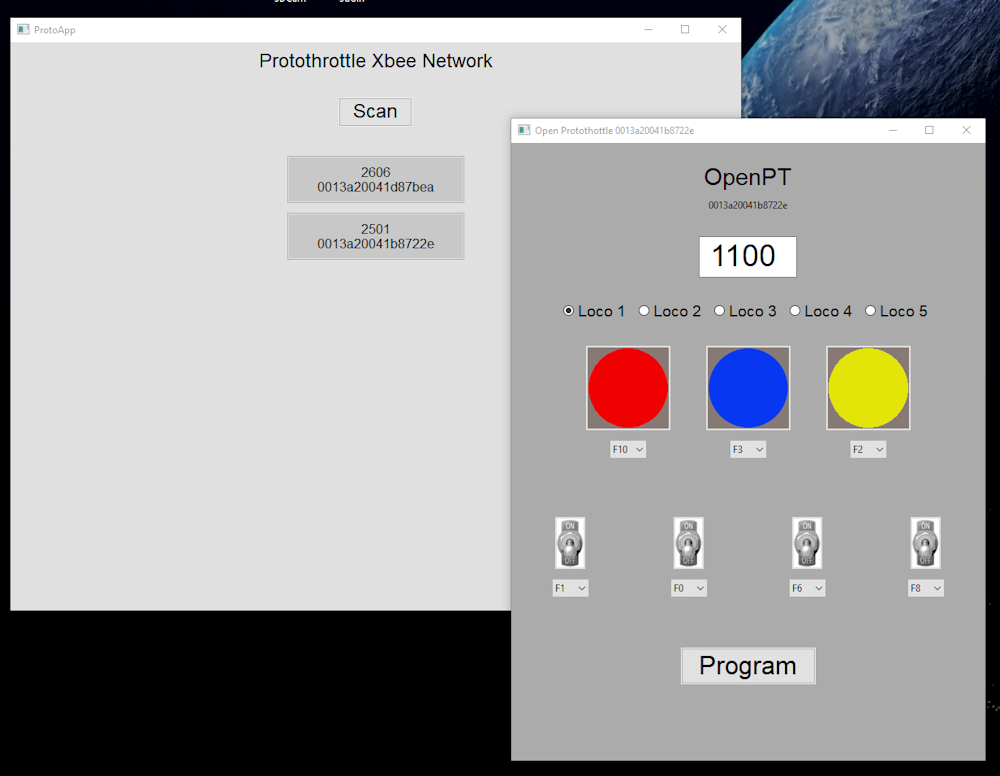
In order to keep the firmware simple, I have opted to use an external windows app to program all of the features of this transmitter. This app lets you set the function codes for all of the buttons and switches for each of five locomotive ‘slots’. I am also in the process of integrating the programming of the actual Protothrottle and my PT dead rail receiver. This software is similar to what my Rpi based programmer does but runs as a native windows app using a USB/Xbee adapter.
The code is available here:
https://github.com/martan3d/WindowsProtoApp
You can get the USB/Xbee adapter from Amazon:
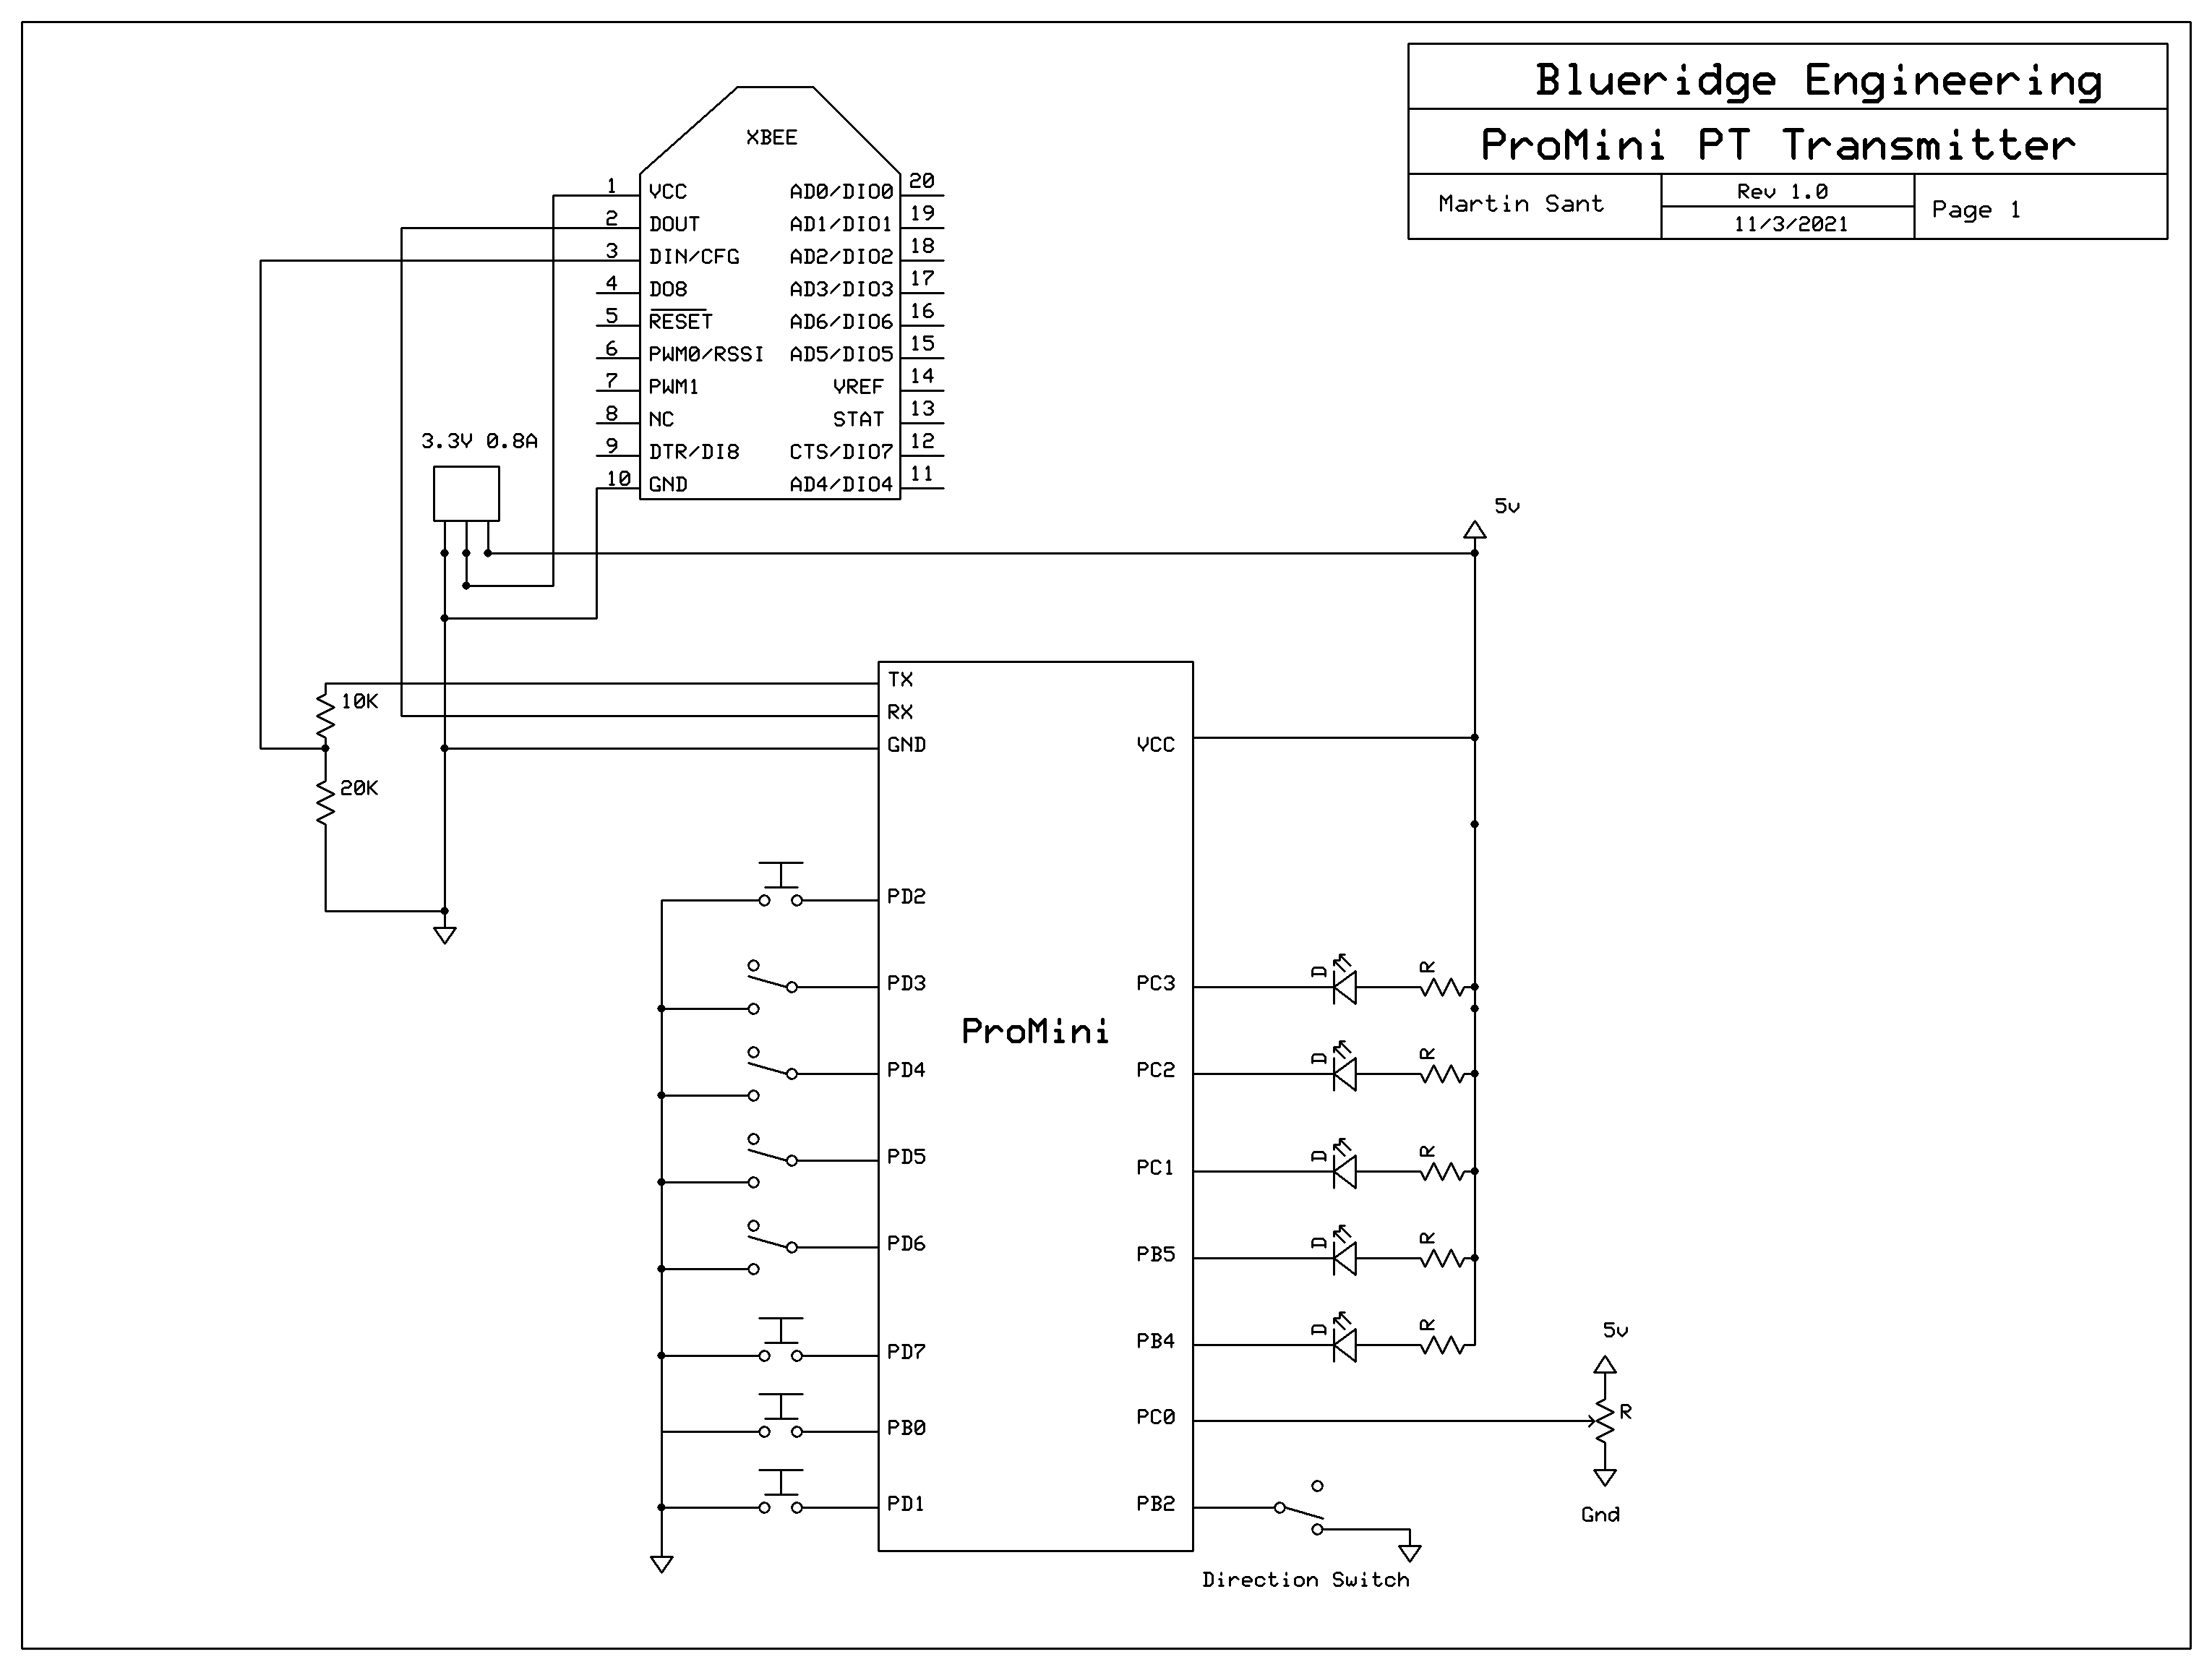
This is the schematic for the transmitter. It shows the connections from the Promini to the Xbee, plus the buttons, switches and potentiometer. Overall it is a pretty simple design.
Parts List – adafruit.com
Parts List – Jameco Electronics
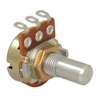 |
10k 16mm Linear Taper Potentiometer (10 detents) |
If you are scratch building the electronics, you will also need an Xbee3 and some sort of adapter to hold it. Sparkfun sells a nice little Xbee adapter board that eliminates the need for the two resistors and the 3.3v regulator in the above schematic.
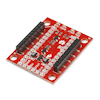 |
Sparkfun Xbee Explorer |
Arduino ProMini
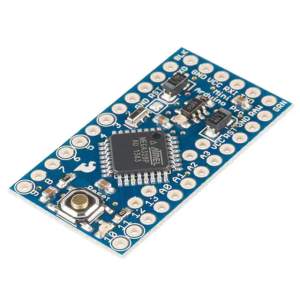
I generally order my ProMini boards from Digikey. They are actually Sparkfun boards but Digikey is WAY faster on shipping.
I have some PCBs already manufactured – I will post a page on using them to assemble this soon.